Installing a solar panel system yourself can save money.
It also helps you understand how solar power works.
DIY solar installation in India is growing in 2025 because solar equipment is now more efficient and affordable.
This detailed guide explains each step in simple English.
It shows how to plan, install and maintain a residential solar power system on your own roof.
It also covers approvals, safety rules, wiring, cost, net metering and common mistakes to avoid.
This guide suits beginners and intermediate users who want clean energy for their Indian homes.
Why DIY Solar Installation Is Popular in India
Energy costs are rising in most states.
People want to cut their electricity bills.
Solar power is now cheaper and offers long term savings.
A DIY solar project helps you reduce installation charges.
You also stay in control of the design and equipment quality.
Solar panels now come with higher wattages, so you need fewer panels for the same output.
This makes DIY solar installation easier for home users in 2025.
Important Note on Safety and Legal Rules
You are allowed to install a rooftop solar power system yourself.
However, some rules must be followed.
Net metering requires approval from your state electricity distribution company.
The system must meet safety standards and electrical norms.
Final grid connection usually requires a licensed electrician.
If you want subsidies under central or state schemes, you must follow government conditions.
Some schemes require approved modules or registered vendors.
Always check your local rules before starting.
Also Read Monocrystalline vs Polycrystalline Solar Panels in India 2025
What Your DIY Solar System Includes
A basic home solar system in India includes the following items.
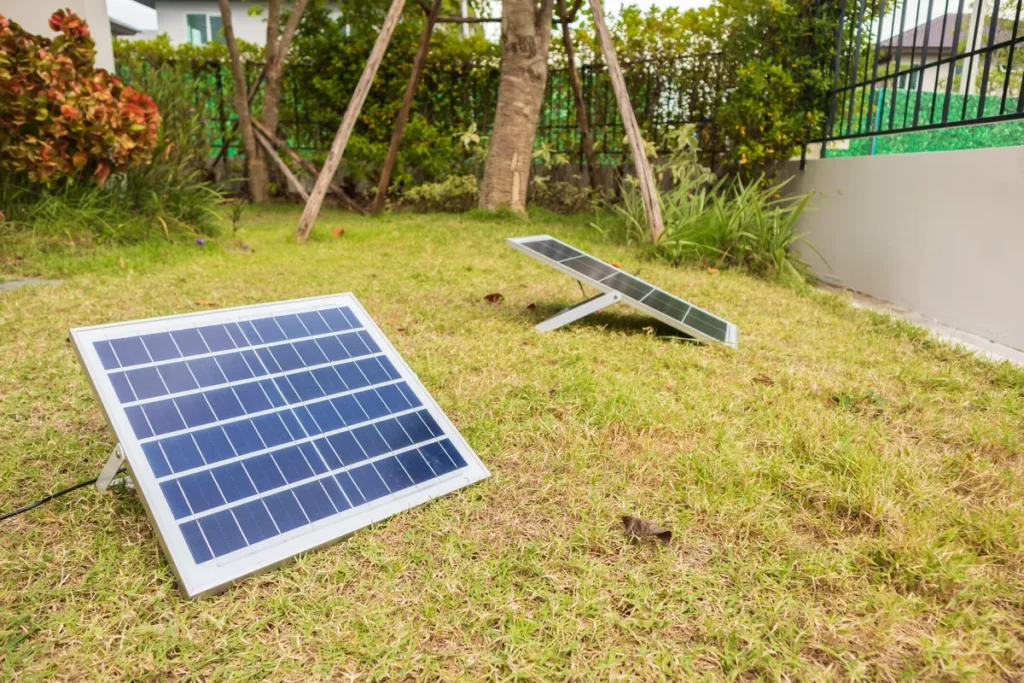
- Solar panels
- Mounting structure or solar panel stands
- DC cables and solar connectors
- Solar inverter or hybrid inverter
- AC distribution box
- DC isolator and AC isolator
- Earthing system and lightning protection
- Optional battery for backup
- Net meter if you want to export power
Choose equipment based on your budget and energy needs.
Step 1: Decide System Size and Cost
Start by checking your average monthly electricity usage.
A 1 kW solar system generates about 3 to 5 units per day.
A 3 kW system produces more power and suits most small homes.
A 5 kW to 10 kW system suits bigger families with heavy loads.
On grid solar systems are cost effective because you do not need a battery.
Hybrid systems with battery backup are useful for power cut areas.
They cost more because batteries increase the total price.
Make a simple plan and budget based on your home needs.
Step 2: Roof Check and Panel Layout
Inspect your roof before installation.
Check if your roof gets enough sunlight.
Avoid shadows from trees, water tanks or nearby buildings.
Measure the usable space.
Panels need a tilt for your location.
South facing orientation gives maximum power in India.
Make a basic layout showing the rows, spacing and access for cleaning.
Higher wattage monocrystalline panels save roof space.
Step 3: Choose Good Quality Components
Choosing the right components is important for maximum performance.
Solar panels
Pick monocrystalline or high efficiency half cut panels.
Look for good warranties and strong frames.
Solar inverter
Choose a trusted brand.
For simple roofs use a string inverter.
For shaded areas choose microinverters or optimizers.
For battery backup choose a hybrid inverter.
Mounting structure
Use corrosion resistant stands and clamps.
Choose the right mounting for concrete rooftops, tin sheds or sloped tile roofs.
Cables and protection
Use DC cables designed for solar.
Use MC4 connectors, DC isolators, AC isolators, surge protectors and MCBs.
Battery (optional)
Lithium iron phosphate batteries are best for home use.
They are safer and last longer.
Step 4: Documentation and Approvals
Apply for net metering if you plan to connect with the grid.
Most states provide an online portal for application.
You will need your electricity bill, consumer number, system details and layout.
Some states visit the site before approval.
Check if your housing society or municipal area needs an NOC.
If you want to claim subsidy check scheme rules before installation.
Some require approved solar panels and certified installers.
Step 5: Tools and Safety Gear
Gather these tools before starting.
- Drill machine
- Spanners and screwdrivers
- Wire stripper and crimping tool
- Multimeter
- Tape and cable ties
- Ladder
- Safety belt
- Gloves and helmet
Turn off all electrical connections while working.
Avoid working during rain or strong wind.
Follow basic electrical safety.
Step 6: Mounting Structure Installation
Fix the mounting structure firmly on the roof.
Mark positions for the rails.
Drill holes carefully.
Use anchor bolts for grip.
Check alignment using a spirit level.
Place the panels on rails and secure them with clamps.
Leave enough space between rows for cleaning and airflow.
Step 7: DC Wiring and String Connections
Connect panels in series to form a string.
Match the inverter voltage range while making strings.
Use MC4 connectors for safe locking.
Label each string.
Install a DC junction box or DC isolator near the inverter.
Check polarity before connecting.
Correct polarity prevents damage.
Step 8: Inverter Setup and AC Wiring
Mount the inverter on a shaded wall with airflow.
Connect DC input from panels.
Connect AC output to the AC distribution board.
Install MCBs for protection.
Connect earthing wires properly.
If using a hybrid inverter connect the battery according to the manual.
Check terminals for tightness.
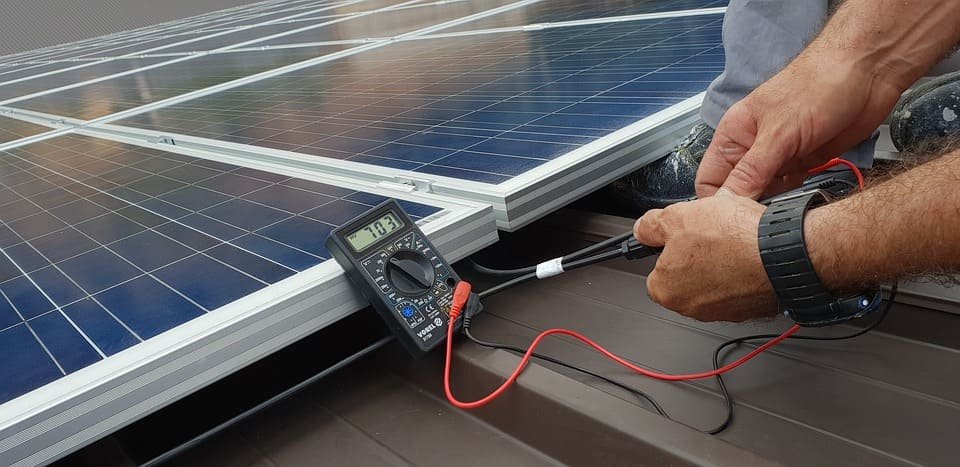
Step 9: Testing and Commissioning
Before switching on do these checks.
- Check DC voltage
- Check polarity
- Check cable joints
- Check AC wiring
- Check earthing
- Check inverter settings
Turn on the AC isolator first.
Then turn on the DC isolator.
Check the inverter display for power generation.
Most inverters have a mobile app for monitoring.
Register your device for warranty and online monitoring.
Step 10: Net Metering and Power Export
Once your system is working contact the electricity department for net meter installation.
They will inspect your setup and replace your old meter.
The net meter records import and export separately.
You receive credit for extra solar power you send back to the grid.
Maintenance Tips for Long Life
Clean your solar panels every two to four weeks.
Dust reduces power output.
Check cables once every few months.
Review inverter logs for errors.
Check earthing once every year.
Keep batteries in a cool and ventilated place.
Approximate Cost of a DIY Solar System in India
The cost depends on size, brand and type of system.
DIY installation reduces labour charges.
On grid costs are lower.
Hybrid and off grid systems cost more due to batteries.
Typical costs in India
1 kW system: budget friendly range
3 kW system: common for homes
5 kW and above: premium setups
Buying in bulk or choosing higher wattage panels can reduce cost per watt.
Common Mistakes to Avoid
- Skipping net metering approval
- Wrong polarity in DC wiring
- Using poor quality connectors
- Overloading the inverter
- Weak mounting structure
- No earthing or surge protection
- Not cleaning panels regularly
Avoid these mistakes for a safe installation.
When You Should Not DIY
Call a professional if your roof is complex.
Also call an expert if you feel unsure about electrical wiring.
High voltage solar strings can be dangerous.
A licensed electrician is recommended for final testing and connection.
FAQs: DIY Solar Installation in India
1. Is DIY solar installation safe for beginners
Yes, it is safe if you follow proper guidelines. You must use safety gear and follow electrical rules. If you are not confident hire a professional for wiring.
2. Can I apply for net metering after DIY installation
Yes, you can apply. The electricity department will inspect the system before approving it.
3. Can I get subsidy for a DIY solar installation
Some subsidy schemes require approved installers. Check the latest rules before starting.
4. Which is better for Indian homes, on grid or off grid
On grid is cheaper and gives high savings. Off grid is useful in areas with long power cuts.
5. How long do solar panels last
Most good solar panels last twenty to twenty five years with proper maintenance.
6. How often should I clean panels
Clean them every few weeks or whenever dust is visible.
7. Which battery is best for home solar systems
Lithium iron phosphate batteries are best due to long life and safety.
8. Can I expand my solar system later
Yes, you can add more panels if your inverter supports higher capacity.