Installing rooftop solar panels in India has become easier, faster, and more affordable. Many homeowners are switching to solar energy because electricity prices are rising and solar systems are becoming more efficient. Government support and growing public awareness are also helping more families choose clean energy.
This detailed guide explains each step of the solar installation process in simple English. It also covers solar panel types, rooftop requirements, solar system costs, subsidy details, safety rules, common mistakes, and maintenance tips. The article is written for Indian homes and includes the latest information as of 2025.
Why Rooftop Solar Panels Are Popular in India
Indian households are turning to rooftop solar systems because they cut electricity bills, reduce dependence on the grid, and provide clean power for many years. Solar panels are now more efficient and durable. Many brands offer long warranties. Modern inverters and lithium batteries offer better backup performance. The government’s solar subsidy program further lowers installation costs.
A rooftop solar system can run major appliances like lights, fans, refrigerators, televisions, washing machines, and computers. Large systems can also support air conditioners and water heaters.
Before You Start: Key Points to Consider
Before installing a solar system, check these points.
Check Rooftop Strength
Your roof must be strong enough to hold the panels and mounting structures.
Check Rooftop Area
A typical 1 kW system needs around 80 to 100 square feet of shadow free space.
Check Electricity Usage
Understanding your monthly power consumption helps you choose the right system size.
Check Sunlight Availability
Your roof should receive at least 4 to 5 hours of direct sunlight daily.
Check Budget and Subsidy Options
Costs depend on system size, inverter type, and brand. Subsidies can reduce the overall price.
Step 1: Assess Your Power Needs
Start by checking your electricity consumption. Look at your monthly power bills and find your average usage in units. This helps you decide the right system size.
Here is a simple guide.
- 1 kW solar system: Suitable for small homes with basic appliances
- 2 kW solar system: Ideal for small to medium families
- 3 kW solar system: Good for homes with higher consumption
- 5 kW solar system: Suitable for large families or homes with ACs
- 10 kW solar system: Best for large homes with heavy appliance load
Step 2: Choose the Right Solar System Type
There are three types of rooftop solar systems.
Grid Tied Solar System
This system connects directly to the electricity grid. It reduces your power bill through net metering. It does not provide backup during power cuts.
Off Grid Solar System
This system uses batteries to store power. It provides backup when the grid fails. It does not use net metering.
Hybrid Solar System
This system offers both net metering benefits and power backup. It is costlier but more efficient.
Step 3: Select the Right Solar Panels
Solar panels are the most important part of the system.
Monocrystalline Panels
These panels have high efficiency and work well in low light. They are popular in India because they produce more power from less space.
Polycrystalline Panels
These panels are cheaper but have lower efficiency compared to monocrystalline panels.
Half Cut Technology Panels
These panels reduce power loss and work well in hot climates.
For Indian homes in 2025, monocrystalline half cut panels are the best choice.
Also Read India’s Solar Subsidy Programs 2025: How to Save Big on Rooftop Solar
Step 4: Choose the Right Solar Inverter
The inverter converts DC from the panels into AC for home use.
Types of Inverters
- String inverter
- Micro inverter
- Hybrid inverter
A string inverter is suitable for most homes. Micro inverters are good for rooftops with shade issues. Hybrid inverters are ideal if you plan to add batteries.
Choose a reputed brand with a long warranty.
Step 5: Apply for Solar Subsidy (If Eligible)
The Indian government offers subsidies for rooftop solar systems under the national solar program. Subsidies apply only to grid tied systems installed by approved vendors. The subsidy amount depends on the system size.
Approximate Subsidy Range (Indicative)
Subsidy amounts are usually based on per kilowatt capacity. The final rate depends on the official government scheme at the time of installation.
You must apply through the approved online portal and follow all installation rules to receive the subsidy.
Step 6: Conduct a Rooftop Survey
A rooftop survey is important to understand the structure, direction, and shading. A solar technician checks the following.
- Roof strength
- Available space
- Sunlight direction
- Shading from trees or buildings
- Wiring layout
- Earthing points
This survey helps design the right system layout.
Step 7: Finalize System Design and Quotation
Based on the survey, the installer prepares a system design. It includes the panel layout, inverter position, wiring plan, and safety arrangements. You also receive a full quotation covering equipment cost, installation cost, and warranty details.
Compare quotes from at least three vendors to get a better idea of quality and pricing.
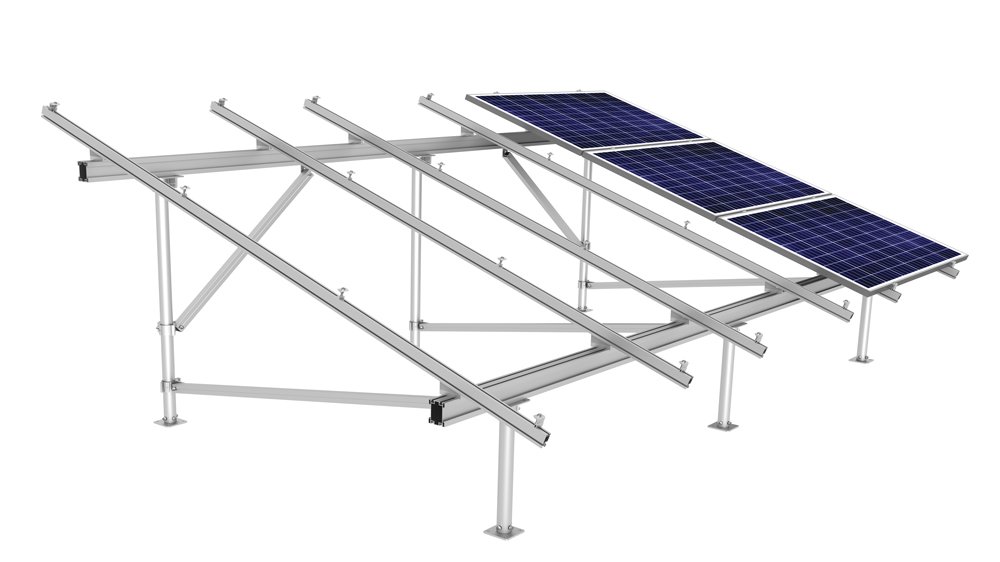
Step 8: Installation of Mounting Structure
The mounting structure holds the solar panels. It should be strong, rust resistant, and built with proper angle alignment for maximum sunlight.
Most homes use the following types.
- RCC mount
- Tin shade mount
- Elevated structure
- South faced structure
The ideal tilt angle in India is around 20 to 30 degrees depending on your location.
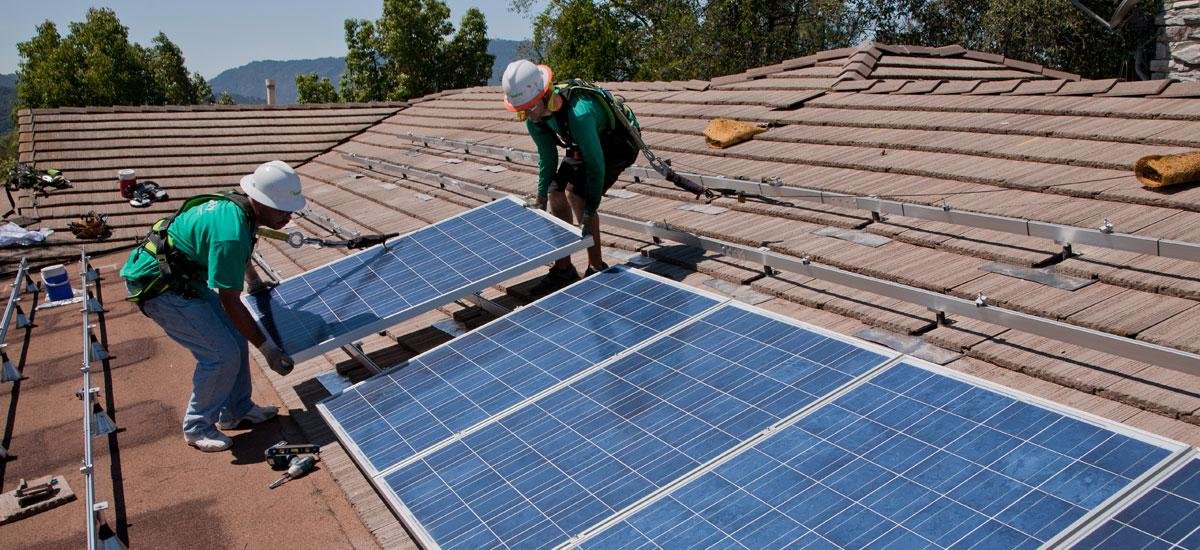
Step 9: Installation of Solar Panels
Once the structure is ready, panels are installed and tightly fixed using clamps and rails. They must be aligned properly to avoid power loss.
Panels should be installed with a gap between them and the roof to allow airflow. This helps reduce heat and improves performance.
Step 10: Wiring and Electrical Connections
The next step is wiring. High quality DC and AC cables should be used. Proper earthing and surge protection are important for safety.
The inverter is then connected to the panels and later connected to the home distribution box. If batteries are used, they are also wired with proper protection.
Step 11: Net Metering Process
For grid tied and hybrid systems, net metering is essential. It allows you to send extra power to the grid and get credit in your bill.
The process usually includes:
- Submitting an application
- Utility company inspection
- Meter replacement
- Approval and commissioning
This process may take a few weeks depending on the region.
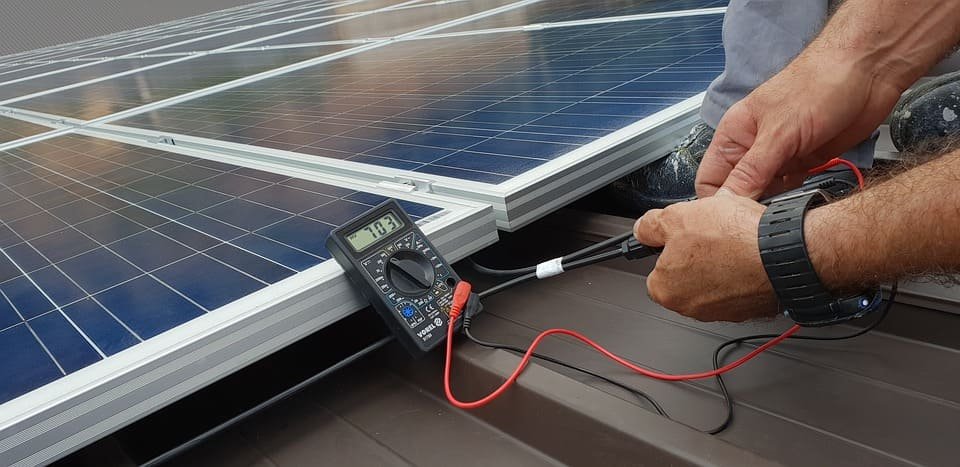
Step 12: System Testing and Commissioning
After installation, the technician tests the system to ensure everything works correctly. They check voltage, current, inverter settings, and safety features. Once approved, the system goes live.
Step 13: Monitoring and Maintenance
Most modern inverters offer app based monitoring. You can check daily power generation, system health, and savings.
Maintenance Tips
- Clean panels once a month
- Remove dust or bird droppings
- Check wiring for damage
- Inspect inverter display for alerts
- Conduct annual servicing
Solar panels usually last 25 years or more with proper care.
Common Mistakes to Avoid During Solar Installation
- Choosing low quality panels to save cost
- Ignoring rooftop shade problems
- Selecting the wrong system size
- Using poor quality wiring
- Skipping safety features
- Not verifying vendor approvals
- Neglecting net metering rules
Avoiding these mistakes ensures long term performance.
Total Cost of Installing Rooftop Solar in India
Prices vary based on system size, brand, and type.
Average System Cost Range (Without Subsidy)
- 1 kW: Moderate cost
- 2 kW: Slightly higher
- 3 kW: Popular size for homes
- 5 kW: Ideal for bigger homes
- 10 kW: For large houses
Hybrid systems and battery based systems cost more than grid tied systems.
Advantages of Rooftop Solar for Indian Homes
- Lower electricity bills
- Protection from rising power tariffs
- Clean and sustainable energy
- Low maintenance
- Long lifespan
- Better property value
Solar energy is a wise investment for Indian families.
Frequently Asked Questions
1. How much rooftop space do I need for a solar system?
You need around 80 to 100 square feet for each 1 kW of solar panels.
2. Can I run my entire house on solar power?
Yes. With the right system size, you can power your entire home. You may also add batteries for backup.
3. Do solar panels work during cloudy days?
Solar panels still work, but power generation is lower on cloudy days.
4. How long do solar panels last in India?
Most panels last 25 years or more with proper maintenance.
5. Can I get the government subsidy for any solar system?
Subsidy is usually available only for grid tied rooftop systems installed through approved vendors.
6. How often should I clean my solar panels?
Clean them once a month or more often if dust levels are high.
7. How long does the installation process take?
Once approved, installation usually takes two to three days. Net metering may take longer.
8. Can I add batteries later to my grid tied system?
Yes. Many modern inverters support battery upgrades.